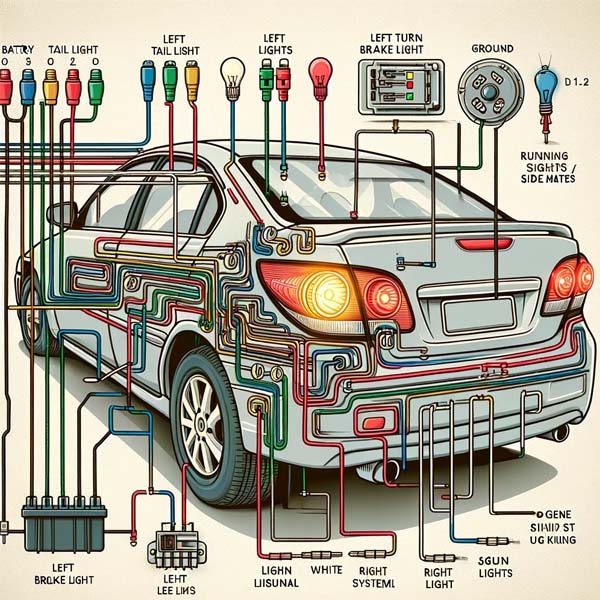
factory tail light wiring color code is necessary to find out the working of tail lights. Ensuring road safety for themselves and others is always a paramount concern for drivers. Despite tail lights not playing a significant role in a vehicle’s operational mechanics, they are given special consideration and prompt maintenance due to their critical role in signaling to other vehicles. Should your vehicle experience issues with its tail lights, your initial step should be to familiarize yourself with the “color code for tail light wiring”. Our article delivers valuable insights into the functionality of this component. It offers a comprehensive guide on installing and replacing it yourself at home, eliminating the need for a professional mechanic!
Tail light wire color code: Determining
Determining the factory tail light wiring color code involves simple steps and tools. The approach can vary slightly based on your familiarity with automotive electrical systems and the resources you have available. Here’s a comprehensive guide to help you accurately identify the “factory tail light wiring color code” for your vehicle:

color code for tail light wiring
1. Consult the Vehicle’s Manual
- Owner’s Manual: Some owner’s manuals include wiring diagrams or at least a chart detailing the tail light wire color code for the vehicle’s electrical system.
- Repair Manual: A dedicated repair manual for your vehicle, like those from Haynes or Chilton, often contains detailed wiring diagrams for various systems, including the tail light wire color code.
2. Look for a Wiring Diagram Online
- Manufacturer’s Website: Some automakers provide access to their service manuals and wiring diagrams for free or for a fee.
- Automotive Forums and Communities: Vehicle-specific forums can be a goldmine of information, including wiring diagrams shared by other users.
3. Use a Test Light or Multimeter
If you can’t find specific documentation for your vehicle, you can use a test light or a multimeter to identify which wires power the tail lights, brake lights, and turn signals.
- Disconnect the Tail Light: Access the back of the tail light assembly and disconnect it from the vehicle’s wiring harness.
- Identify Ground: Typically, the ground wire is black or white. Using a multimeter, you can confirm this by checking the continuity between the wire and the vehicle’s chassis.
- Test for Function: Turn on the vehicle’s ignition (you don’t need to start the engine for most vehicles). Use the test light or multimeter to test each wire by activating the tail lights, brake lights, and turn signals. The wire that carries power during each function is the wire for that function.
4. Check the Socket and Bulb Connections
Sometimes, you can determine the tail light wire color code by looking at the socket or the connector where the bulbs plugin. It can give clues as to which wire serves which function based on the position in the connector.
5. Purchase a Wiring Adapter
For those installing aftermarket lights, such as trailers, wiring adapters plug into the existing vehicle harness. These adapters often come with documentation indicating the wire color code.
Safety Precautions
- Disconnect the Battery: Before doing any electrical work, it’s wise to disconnect the battery to avoid shorts or other electrical issues.
- Use Proper Tools: Ensure you have a good quality test light or multimeter and understand how to use it correctly.
Final Tips
- Mark Wires: As you identify each wire’s function, use a small tape labeled with the function to avoid confusion later because mistake may lead burn tail lights.
- Double-check: It’s a good idea to double-check your findings, especially if you plan to cut into or modify the wiring.

Identifying the “factory tail light wiring color code” with the correct information and tools can be easy. However, suppose you need clarification on any step in the process. In that case, consulting with a professional mechanic or an auto electrician is advisable to prevent damage to your vehicle’s electrical system or personal injury.
Brown is usually listed as a valid coding for the tail light by the manufacturers, while yellow is used for the left turn signal, green for the right one, and white for the background.
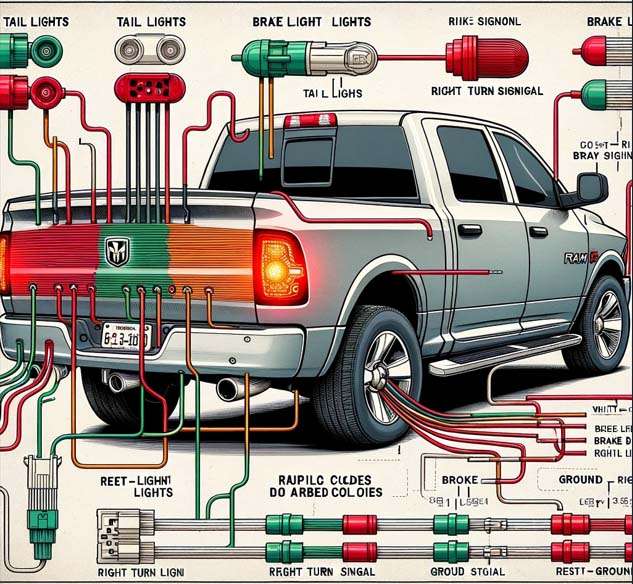
Thanks to the exact regulation of the colors in the tail light dodge ram wire color codes, it is straightforward for the drivers and the mechanics to differentiate each kind of single wire and the kind of effect, thus drastically reducing the risks of its being wrongly wired and causing damage to the whole vehicle wiring diagram. These four types of ropes form the “four-way rope” group, usually found in any light and boat trailer existing on the market today.
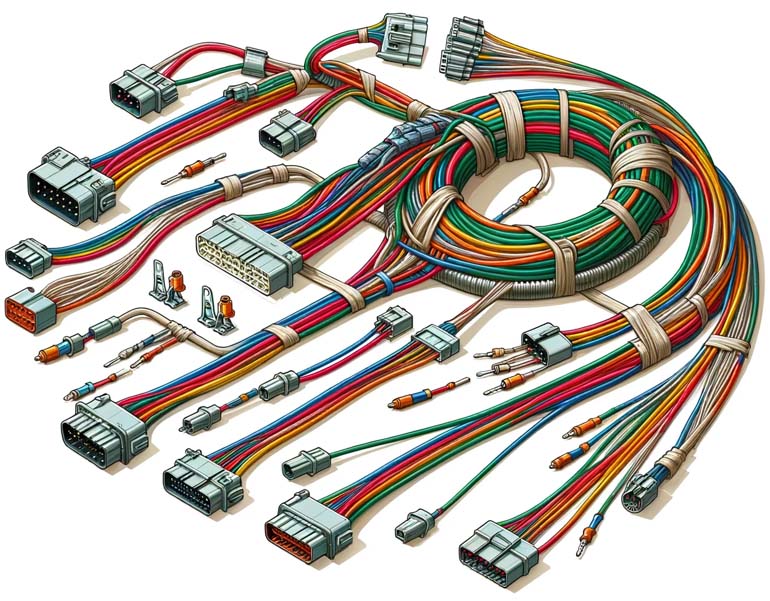
All these belong to the “five-way wiring” system, corresponding to the advanced one, where an extra blue wire (5th) is linked to the turbocharger and backup lights (in most cases, campers or trailers). “Six-way wiring” includes an extra red wire for controlling the battery and fuse, designed for use with horse-drawn carriages. Meanwhile, “seven-way wiring” represents the highest category, distinguished by the introduction of a purple wire as a hydraulic connector.
Tail Light Dodge Ram Wire Color Codes: What To Keep In Mind With The
When you handle vehicles’ electrical systems, such as the “tail light Dodge Ram wire color codes,” you must follow critical guidelines to ensure the safe completion of repairs or modifications. Understanding and respecting the wire color codes is crucial for identifying the correct wires for tail lights, brake lights, turn signals, and other functions. Here are some important considerations when working with the tail light wiring color codes of a Dodge Ram:

1. Model Year Specifics
- Year Matters: Tail light dodge ram wire color codes differ significantly across model years. Ensure you have the correct wiring diagram for your specific year and model.
2. Factory Wiring Diagrams
- Consult the Factory Service Manual: You can find the most accurate wiring diagrams and color codes for your specific vehicle in the factory service manual. These manuals are often available online, through dealerships, or in auto parts stores.
3. Aftermarket Modifications
- Beware of Previous Modifications: If the truck has been previously owned, aftermarket modifications could have altered the original wiring setup. Watch for non-standard colors, splices, or additional wiring that doesn’t match factory specifications.
4. Wiring Harness Connections
- Check Connectors: Before doing any work, inspect the condition of wiring connectors and harnesses for corrosion, damage, or wear. Poor connections can lead to malfunctioning or non-functioning lights.
5. Safety Precautions
- Disconnect the Battery: To avoid the risk of electric shock or damaging the vehicle’s electrical system, always disconnect the battery before starting any work on the wiring.
6. Legal and Safety Compliance
- Stay Within Legal Limits: Ensure that any modifications or replacements meet the legal requirements for tail lights regarding brightness, color, and visibility. Non-compliance can lead to fines and make your vehicle fail its inspection.
7. Professional Advice
- When in Doubt, consult a Professional: If you need more confidence in correctly identifying and working with the vehicle’s wiring, it’s best to consult a professional mechanic or auto electrician. Incorrect modifications can lead to serious safety hazards and potentially expensive repairs.
8. Test Before Finalizing
- Test Lights Before Reassembly: After connecting the new lights or making modifications, test all functions (tail lights, brake lights, turn signals, reverse lights) before finalizing the installation to ensure everything works as expected.
dodge ram tail light wire color codes
While these can vary, here are some standard colors found in various Dodge Ram models:

- Tail Lights: Often brown or brown with another color stripe use for tail lights.
- Brake Lights: Typically, red or red with a white stripe
- Turn Signals: Can be green, yellow, or have specific colors for left and right
- Ground Wires: Usually black or white
Remember, these color codes can vary, so verifying with your specific vehicle’s documentation is essential. Considering these considerations will help ensure a successful and safe outcome when working on your dodge ram tail light wire color codes.
How to Install LED Tail Lights for Your vehicle?
“Install LED Tail Lights” on your car can be a rewarding project that enhances your vehicle’s look and improves visibility for increased safety. LED lights are known for their longevity, energy efficiency, and brightness, making them popular for tail light upgrades. Here’s a step-by-step guide on how to install LED tail lights properly:

1. Choose the Right LED Tail Lights
- Compatibility: Before Install LED tail lights, ensure the LED tail lights you purchase are compatible with your car’s make, model, and year.
- Quality: opt for high-quality LEDs to ensure durability and optimal performance before “Install LED Tail Lights.”
2. Gather Necessary Tools
- Essential hand tools such as screwdrivers, pliers, and a socket set are usually sufficient.
- A wiring diagram for your vehicle can also be helpful, especially if any wiring modifications are needed.
3. Safety Precautions
- Disconnect the battery to prevent any electrical shorts or shocks.
4. Remove the Old Tail Lights before install led tail lights
- Open the trunk or rear compartment to access the back of the tail lights to Install LED Tail Lights.
- Remove any covers, panels, or screws that secure the tail light assembly to the car.
- Pull the tail light assembly away from the vehicle, careful not to damage any wiring.
- Before installing LED Tail Lights, Disconnect the wiring harness from the tail light assembly.
5. Prepare for install LED Tail Lights
- Before installation, inspect the new LED tail lights for any damage.
- Ensure all connectors and wiring are intact and match your vehicle’s harness.
6. Install LED Tail Lights
- Connect your car’s wiring harness to the new LED tail light assembly. Ensure the connections are secure and correct according to your vehicle’s wiring diagram.
- Carefully position the LED tail light assembly into place on your vehicle.
- Secure the tail light assembly with the original screws or clips. Do not overtighten, as this could crack the housing.
7. Test after install LED Tail Lights
- Reconnect the battery and test the new LED tail lights to ensure they work correctly. Check the brake lights, turn signals, and reverse lights (if applicable).
8. Reassemble and Final Checks
- Once everything is tested and working, reassemble any panels or covers you removed during installation.
- Ensure all lights are securely mounted, and there is no moisture ingress, which could lead to short circuits.
Tips and Considerations
- Legal Compliance: Verify that the installed LED tail lights comply with local brightness, color, and flash pattern regulations.
- Adjustments: Some LED tail lights have adjustable settings for brightness or flash patterns. Adjust these according to your preference and legal requirements.
- Professional Help: If you need more time to get comfortable with the installation process, especially the electrical aspects, consider installing the LED tail lights by a professional.
By following these steps, you can successfully install LED tail lights on your car, enhancing its aesthetics and safety on the road.
FAQ
are brake light and tail light the same
The answer is no because Brake and tail lights mostly share the same housing on a vehicle. Each serves another purpose and operates under other conditions. Here’s a breakdown of their differences:
Tail Lights
Purpose: The designed tail lights make the vehicle’s rear visible in the dark or during poor visibility conditions, such as fog or heavy rain.
Operation: They turn on automatically in modern vehicles when the headlights are activated manually or through automatic lighting systems. Tail lights emit a steady, soft red light that illuminates the rear end without blinding drivers behind.
Color: Always red.
Brake Lights
Purpose: Brake lights indicate that the driver is applying the brakes, signaling to drivers behind that the vehicle is slowing down or coming to a stop. It is crucial for preventing rear-end collisions.
Operation: They activate when the driver presses the brake pedal. Brake lights are brighter than tail lights to attract immediate attention.
Color: Always red but more luminous than tail lights to stand out when the brakes are applied.
Key Differences
Brightness: Brake lights are brighter to signal a change in speed, while tail lights maintain a constant brightness to indicate the vehicle’s presence.
Activation: Tail lights work with the vehicle’s headlights and remain on in low visibility conditions. In contrast, brake lights activate only when pressed.
The brake pedals.
Function: Each serves a different safety function: tail lights for visibility at night or in bad weather and brake lights to alert following drivers to slowing or stopping actions.
Shared Housing
Despite these differences, brake and tail lights often share the same external housing on a vehicle’s rear. It can sometimes lead to confusion, but it’s a cost-effective, space-saving design choice. In many cases, especially in older cars, they may even share an identical bulb with dual filaments inside—one for the tail light function and the other for the brake light function.
Understanding the distinct roles of brake and tail lights is essential for driving safely and troubleshooting any issues with these lights. If either fails to operate as expected, it can significantly increase the risk of accidents, especially in poor visibility conditions or when braking to stop.
Conclusion
This malfunction needs to meet the minimums for your traveling public thoroughfare; you will have lost their communicative function with other vehicles on the road. Thus, finding and solving the problem in time becomes the primary and essential condition of a safe journey for you and those around you. In this article, you found enough helpful information on factory tail light wiring color code to fix it at home if this system fails. Good luck with the repair!

